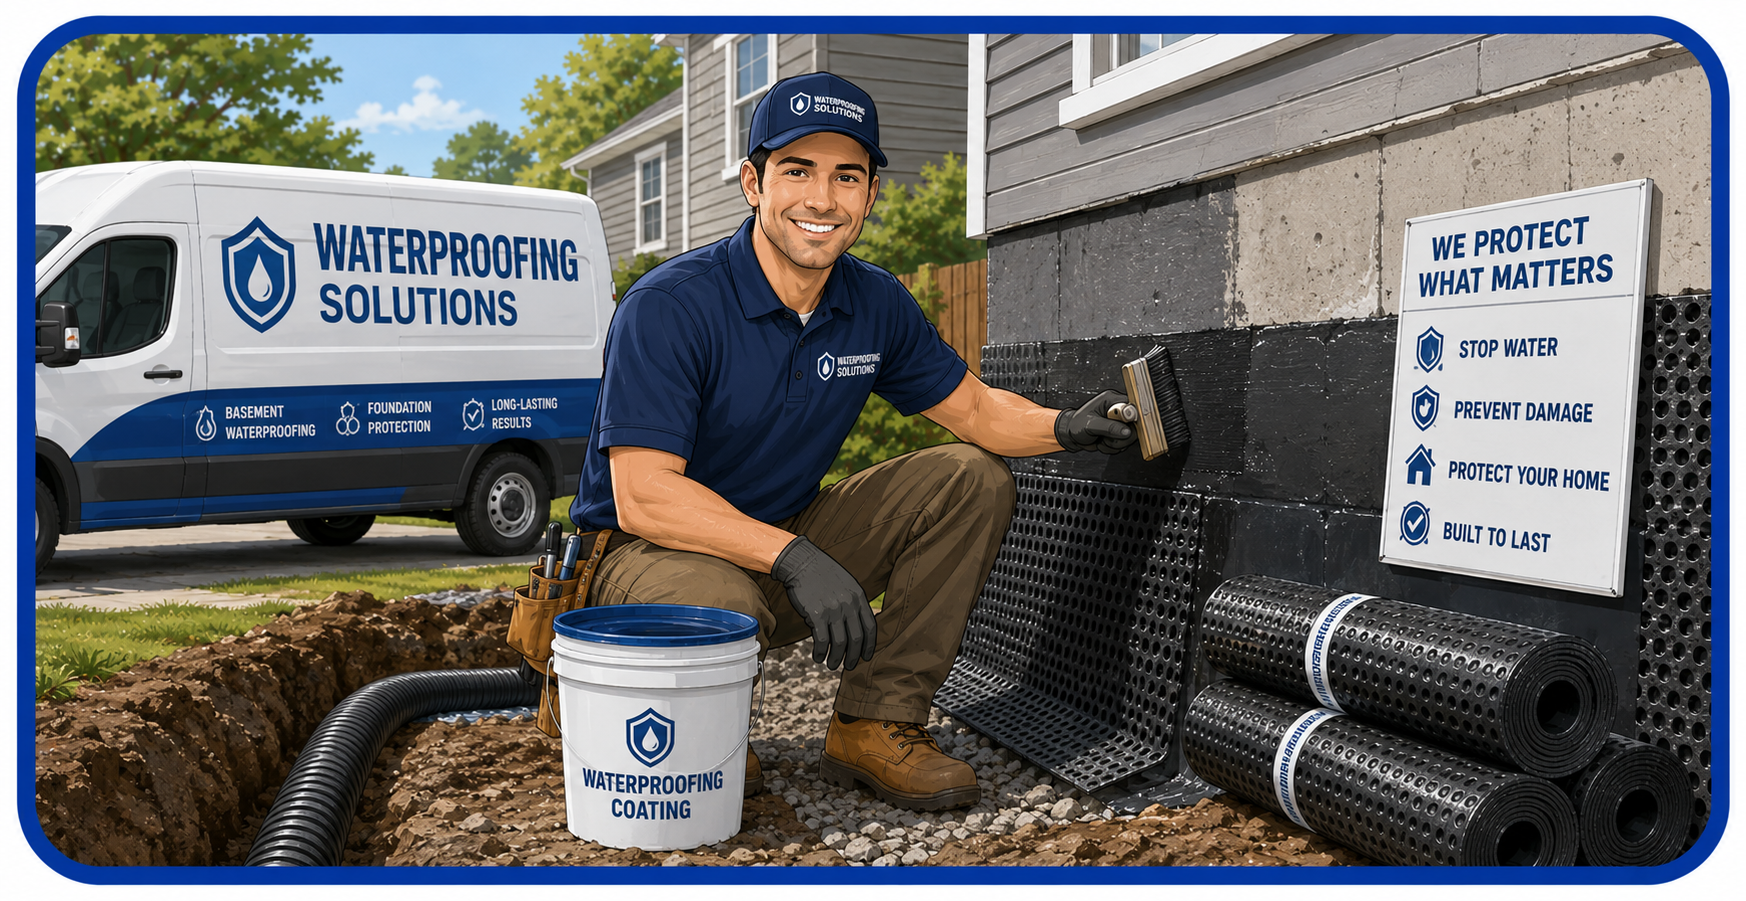
Perimeter channel systems that capture and redirect water at the point of entry, protecting your basement without exterior excavation or landscape disruption.
The practical approach when exterior excavation is not feasible or needed.
Interior systems are installed entirely from inside the basement, eliminating the landscaping and hardscaping disruption that exterior work requires.
Perimeter channels capture water as it enters at the floor-wall joint and route it to a sump pit before it can spread across the basement floor.
Regardless of outdoor temperature or ground conditions, interior drainage installation moves forward on schedule.
Properly designed interior channel systems use gravity to route water to the sump pit without mechanical assistance, supplemented by the pump only when pit level reaches the activation threshold.
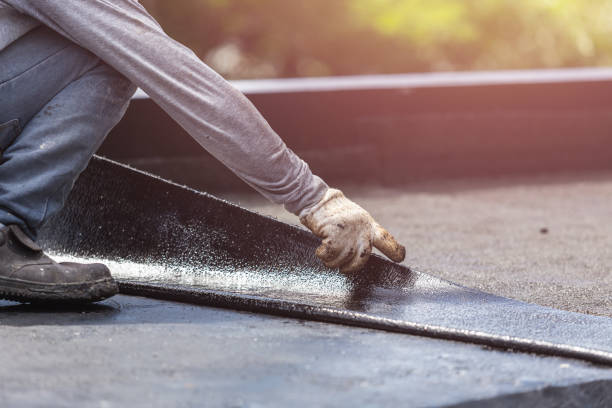
Interior drainage systems in Bethel are installed by saw-cutting a trench around the interior perimeter of the basement floor slab, typically four to six inches wide and deep enough to reach the footing level or just below the slab. This trench is the channel that collects water entering at the floor-wall joint and routes it by gravity toward the sump pit. The saw-cutting process is performed with diamond-blade equipment that produces a straight, controlled cut without excessive vibration damage to the surrounding slab. Dust is a natural byproduct of this process, and our crews use containment and ventilation practices to minimize spread to finished areas of the home.
Perforated channel systems offer specific advantages over simple gravel-and-pipe installations in Bethel basements with block or stone foundations. The channel profile is engineered to sit at the footing level where hydrostatic pressure concentrates, and the wall flange extension captures seepage that occurs at the bottom course of block rather than strictly at the floor-wall joint. This distinction matters because without the wall flange, water running down the interior wall face bypasses the channel and spreads across the floor before reaching the collection point. Proper channel specification requires understanding where the moisture entry is actually occurring, which the assessment process documents before any installation begins.
The sump pit integration is the component that makes an interior drainage system fully functional. The channel system routes water to the pit, and the pump removes it from the pit before it overflows. Pit location is determined by the channel routing geometry, existing pit locations if present, and access to a discharge route. In some Bethel homes where the basement has been partially finished, the channel must be routed around finished walls and mechanicals to reach an optimal pit location. These routing decisions are made during the assessment and documented in the installation plan. The pit itself is sized to provide adequate storage volume for the expected inflow rate, ensuring the pump is not short-cycling and the system has adequate buffer during peak inflow events.
One of the most important honest assessments we provide in Bethel is explaining what interior drainage does not do. Interior systems do not treat the foundation wall itself, do not reduce hydrostatic pressure against the exterior wall surface, and do not address wall seepage that is occurring mid-wall due to horizontal cracks or structural movement. For those conditions, exterior membrane work or crack injection is the appropriate treatment. Interior drainage excels at managing water entry at the footing level, floor-wall joint seepage, and floor-level pressure seepage in situations where the foundation is structurally sound but the original waterproofing has aged or the perimeter soil conditions create chronic seepage during saturation events. We document which conditions are present in your specific Bethel basement and recommend the approach that addresses your actual moisture source, not a generic solution that covers all scenarios on paper but misses your specific entry points.
From perimeter channel installation to sump integration and annual service, a complete interior drainage solution.
Saw-cut perimeter channel around the full basement footprint, with gravel bed, drainage channel, and sump pit connection. Complete protection for all four walls in one installation.
Learn moreFor Bethel homes where moisture entry is concentrated on one or two walls, targeted channel installation along the affected sections provides effective protection at lower cost than full perimeter treatment.
Get an assessmentBlock and stone foundations in older Bethel homes commonly show mid-wall seepage that bypasses floor-level channels without the wall flange extension. We specify this component when the assessment shows wall-face moisture migration.
Ask about wall flangesInstalling a new pit or relocating an existing one to optimize channel routing geometry and pump efficiency. Proper pit placement is the key to gravity-assisted drainage performance.
Plan your pit locationA drainage system that was properly installed years ago but has degraded can often be restored through cleaning and targeted component replacement at far less cost than a full reinstallation.
Schedule an inspectionWhen a previously installed partial channel system needs to be extended to address additional wall sections, we design and install the expansion with clean transitions to the existing channel and updated sump pit capacity if required.
Expand your systemA methodical process that produces a drainage system built to perform for decades.
We inspect the basement under controlled conditions to document exactly where and how water is entering your Bethel home. We look for staining patterns, efflorescence location, floor-joint seepage evidence, and any wall-face moisture migration. This documentation determines the channel scope and routing.
Cut dimensions are verified before the gravel bed is placed to confirm the channel profile will sit at the correct elevation relative to the footing.
Gravel bed placement, drainage channel positioning, wall flange installation where specified, and sump pit connection are completed in sequence. Channel slope is verified with a level to confirm gravity-assisted flow toward the pit throughout the entire system.
Written completion documentation is provided at handoff, including channel routing dimensions, pit specifications, and pump information for future reference.
Real words from real customers, after their first season with an interior drainage system installed.
The assessment was thorough and they explained exactly which wall sections were causing the problem. The installation took one day and the crew cleaned up completely before leaving. The following spring, which was wet, produced zero water on the basement floor for the first time in seven years.
From the assessment call to installation completion, everything was communicated clearly. The written proposal broke down every component and I understood exactly what was being installed and why before any work began.
The channel routing around our finished laundry room was handled cleanly. You cannot see where the channel runs under the new concrete. Professional work throughout.
Clear, direct answers from a drainage technician perspective, not a sales script.
The specific installation procedure varies slightly based on foundation type, existing slab thickness, and moisture entry pattern. Block foundations may require weep holes drilled at the base of the block to allow water trapped in the hollow cores to drain into the channel. Poured concrete foundations with floor-joint seepage are typically addressed with the channel profile alone. Our installation crew documents the method used for each wall section and provides this information at project completion.
Interior drainage is a long-term system, not a temporary repair, when it is properly installed and the channel is correctly sized for the inflow volume. The channel system itself has no moving parts and requires no maintenance beyond occasional inspection. The gravel bed does not compact or break down under normal conditions. The drainage profile materials used in quality installations are rated for permanent soil-contact use. Systems installed decades ago continue to perform when the sump pump is maintained and the channel has not been blocked by slab settlement or debris infiltration.
We provide detailed written proposals for assessed conditions rather than phone quotes because every basement is different. We also explain whether the moisture pattern we observe is better addressed by interior drainage, exterior treatment, or a combination. Homeowners who understand the reasoning behind the recommendation make better investment decisions than those who receive a price without context.
The concrete cap poured at the end of the installation day requires 24 to 48 hours of cure time before the basement is fully returned to normal use. We advise homeowners on what activities can resume before full cure and what should wait. The sump pump is tested and operational before the crew leaves, so water management begins immediately even while the concrete finishes curing.
An interior drainage channel system requires minimal maintenance because it has no moving parts. The primary maintenance task is ensuring the sump pump connected to the system is in good working order, which involves the same inspection protocol as any pump: float switch testing, motor operation check, discharge line inspection, and battery backup readiness verification. The channel itself should be visually inspected at accessible cleanout points annually if the design includes them, or whenever pump performance changes in a way that might indicate a channel blockage. Older channel installations in some Bethel homes show calcium and mineral deposit buildup over many years, which can be addressed with periodic flushing.
Interior drainage can be installed in a finished basement, though the process requires more planning and may involve temporary disruption of finished flooring and baseboard materials along the channel route. The saw-cutting must follow the perimeter regardless of what is installed above it, so finished flooring within the cut zone will need to be removed before work begins and replaced after the concrete cap cures. Drywall along the base of finished walls is typically removed at least partially to allow the wall flange to be installed properly. We document all disruption areas in the installation plan so homeowners can arrange for finish materials before scheduling the work.
No excavation. No landscape disruption. Just a properly installed channel system that manages water at the point of entry, year after year.
Call +1-866-476-1348 for Assessment